06 Docker 数据管理


  1. 生产环境中使用Docker的过程中,往往需要对数据进行持久化,或者需要在多个容器之间进行数据共享
    这必然涉及容器的数据管理操作。

  2. 容器中管理数据主要有两种方式:

1
2
3
4
5
6
数据卷(Data Volumes):
- 容器内数据直接映射到本地主机环境;
- 如何在容器内创建数据卷,并且把本地的目录或文件挂载到容器内的数据卷中。
数据卷容器(Data Volume Containers):
- 使用特定容器维护数据卷。
- 如何使用数据卷容器在容器和主机、容器和容器之间共享数据,并实现数据的备份和恢复。

数据卷的使用

  1. 数据卷是一个可供容器使用的特殊目录,它将主机操作系统目录直接映射进容器,类似Linux 的mount挂载
1
2
3
4
5
数据卷的特性:
- 数据卷可以在容器之间共享和重用,容器间传递数据将变得高效方便;
- 对数据卷内数据的修改会立马生效,无论是容器内操作还是本地操作;
- 对数据卷的更新不会影响镜像,解耦了应用和数据;
- 卷会一直存在,直到没有容器使用,可以安全地卸载它。

创建数据卷

  1. 在用docker run 命令的时候,使用 -v 标记可以在容器内创建一个数据卷。多次重复使用 -v 标记可以创建多个数据卷。
  2. 用户可以将一些程序或数据放到本地目录中,然后在容器内运行和使用。
  3. 另外,本地目录的路径必须是绝对路径,如果目录不存在,Docker会自动创建。
1
2
-v /data 
-v src:dst # 挂载本地目录到容器上
1
2
3
4
5
6
7
8
9
10
11
12
13
14
15
16
17
18
19
20
21
22
23
24
25
26
27
28
29
30
31
1. 准备好host挂载目录和里面的文件
[root@linux-node1 tools]# mkdir -p /data/tools
[root@linux-node1 tools]# ls -l
total 232
-rw-r--r--. 1 root root 15329 Nov 8 2018 2000.png
-rw-r--r--. 1 root root 51562 Nov 8 2018 21.js
-rw-r--r--. 1 root root 254 Nov 8 2018 icon.png
drwxr-xr-x. 2 root root 96 Nov 8 2018 img
-rw-r--r--. 1 root root 3049 Nov 8 2018 index.html
-rw-r--r--. 1 root root 63008 Nov 8 2018 sound1.mp3
-rw-r--r--. 1 root root 91725 Oct 11 10:22 xiaoniaofeifei.zip

2. 开始挂载
[root@linux-node1 tools]# docker run -it --name mycentos -v /data/tools/:/data/tools centos:7
[root@ec7228193572 /]# cd /data/tools/
[root@ec7228193572 tools]# ls
2000.png 21.js icon.png img index.html sound1.mp3 xiaoniaofeifei.zip

3. 测试host添加一个文件
[root@linux-node1 tools]# echo "hello leo" >> leo.html
[root@ec7228193572 tools]# ls -l
...
-rw-r--r--. 1 root root 10 Oct 11 02:28 leo.html
...

4. 测试在容器上删除该文件
[root@ec7228193572 tools]# rm -f leo.html
[root@linux-node1 tools]# ls -l leo.html # 已删除

5. 如果我们删除了本地的tools 那么容器上的tools里面的数据将不存在
[root@linux-node1 data]# rm -rf tools/
  1. 很方便的在你进行数据修改的时候,直接修改本地文件就行了,容器直接就会同步了
  2. 提前都建好目录,再挂载上去,容器down没关系,数据都在指定的目录下
1
2
3
4
5
6
7
8
9
1. docker 挂载数据卷的默认权限是读写(rw) ,我们也可以改权限
[root@linux-node1 data]# docker run -it --name mycentos2 -v /data/tools/:/data/tools/:ro centos:7
[root@d45deb896445 /]# cd /data/tools/
[root@d45deb896445 tools]# touch hehe
touch: cannot touch 'hehe': Read-only file system

2. 也可以只挂载本地主机的单个文件到容器中作为数据卷(强烈不推荐,生产也很少用,可忽略)
[root@linux-node1 ~]# docker run --rm -it -v /root/.bash_history:/.bash_history centos:7 /bin/bash
root@3ac18de44b62:/# cat .bash_history

Docker 安装 Nginx 并使用数据卷管理

拉取官方镜像1.16.1

1
[root@linux-node1 data]# docker pull nginx:1.16.1

查看镜像

1
2
3
[root@linux-node1 data]# docker images nginx:1.16.1
REPOSITORY TAG IMAGE ID CREATED SIZE
nginx 1.16.1 0dac5b41d811 4 weeks ago 126MB

使用 NGINX 默认的配置来启动一个 Nginx 容器实例

1
2
3
4
5
[root@linux-node1 data]# docker run -d -p 8000:80 --name web1 nginx:1.16.1
- --name: 容器名web1
- -p: 端口映射80
- -d: 容器在后台运行
- nginx:
1
2
3
[root@linux-node1 data]# docker ps
CONTAINER ID IMAGE COMMAND CREATED STATUS PORTS NAMES
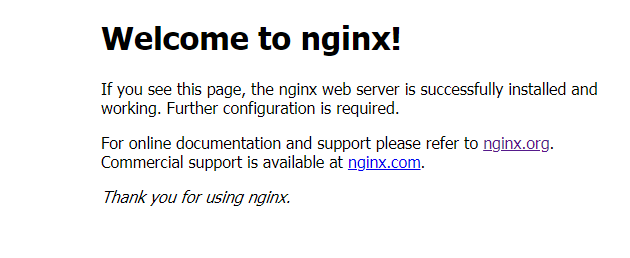
a41b970bfceb nginx1.16.1 "nginx -g 'daemon of…" 5 seconds ago Up 3 seconds 0.0.0.0:80->80/tcp web1

使用容器卷管理 nginx

1
2
1. 创建目录
[root@linux-node1 data]# mkdir -p /data/nginx/{log,conf,www}
1
2
3
4
5
6
7
8
2. 拷贝容器内 Nginx 默认配置文件到本地当前目录下的 conf 目录
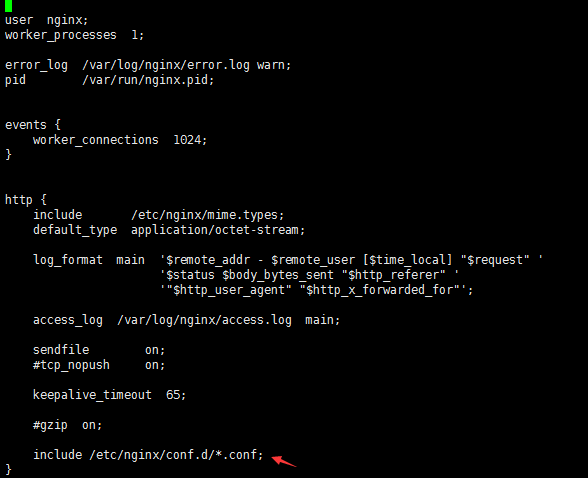
[root@linux-node1 data]# docker cp web1:/etc/nginx/nginx.conf /data/nginx/conf
[root@linux-node1 data]# cd /data/nginx/
-rw-r--r--. 1 root root 643 Sep 24 22:49 nginx.conf

- www: 目录将映射为 nginx 容器配置的虚拟目录。
- logs: 目录将映射为 nginx 容器的日志目录。
- conf: 目录里的配置文件将映射为 nginx 容器的配置文件。
1
2
3
4
5
6
3. 启动挂载目录
[root@linux-node1 nginx]# docker run -d -p 80:80 --name web2 -v /data/nginx/conf/nginx.conf:/etc/nginx/conf/nginx.conf -v /data/nginx/www:/usr/share/nginx/html -v /data/nginx/log/:/var/log/nginx nginx1.16.1

- nginx文件 /data/nginx/conf/nginx.conf --> /etc/nginx/conf/nginx.conf
- nginx目录 /data/nginx/www --> /usr/share/nginx/html
- nginx日志 /data/nginx/log/ --> /var/log/nginx
1
2
3
4
5
6
7
8
9
10
4. 进入host的首页目录 上传测试文件
[root@linux-node1 www]# ls -l
total 232
-rw-r--r--. 1 root root 15329 Nov 8 2018 2000.png
-rw-r--r--. 1 root root 51562 Nov 8 2018 21.js
-rw-r--r--. 1 root root 254 Nov 8 2018 icon.png
drwxr-xr-x. 2 root root 96 Nov 8 2018 img
-rw-r--r--. 1 root root 3049 Nov 8 2018 index.html
-rw-r--r--. 1 root root 63008 Nov 8 2018 sound1.mp3
-rw-r--r--. 1 root root 91725 Oct 11 11:16 xiaoniaofeifei.zip
1
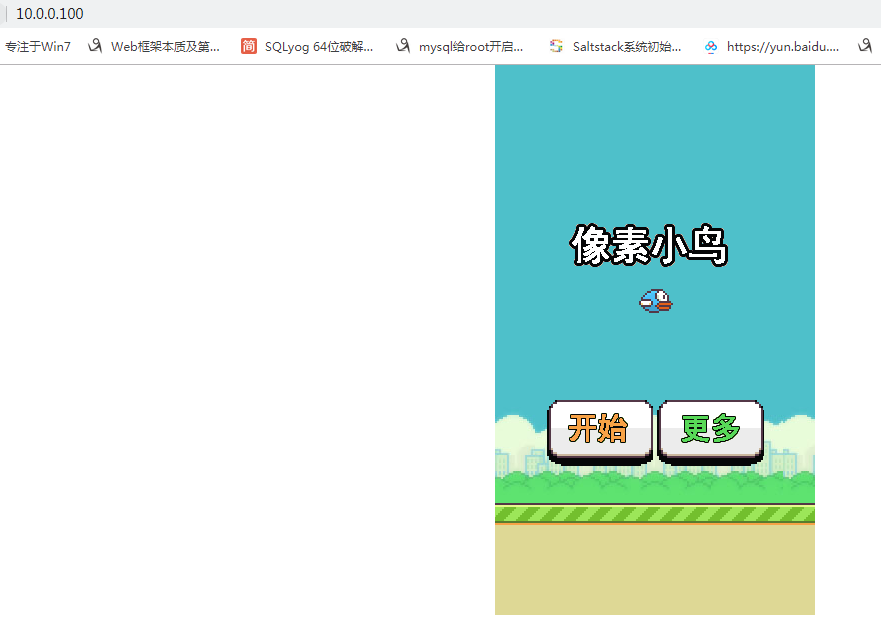
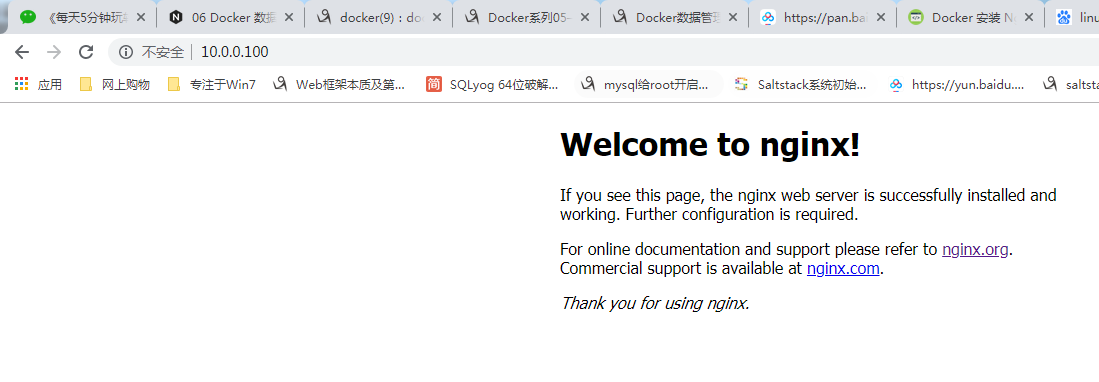
5. 测试访问页面

1
2
3
4
5
6
7
8
6. 相关命令
- 如果要重新载入 NGINX 可以使用以下命令发送 HUP 信号到容器:
docker kill -s HUP container-name
[root@linux-node1 www]# docker kill -s HUP web2

- 重启 NGINX 容器命令:
docker restart container-name
[root@linux-node1 www]# docker restart web2
1
2
3
4
5
6
7. 查看日志 
# 可以去看host的log目录下的日志
[root@linux-node1 log]# ls -l
total 8
-rw-r--r--. 1 root root 3224 Oct 11 11:20 access.log
-rw-r--r--. 1 root root 732 Oct 11 11:20 error.log

测试修改代码

  • 修改host上首页的title标题
1
2
[root@linux-node1 www]# vim index.html 
<title>docker-nginx-test</title>

多端口映射

  • 基于多端口多站点
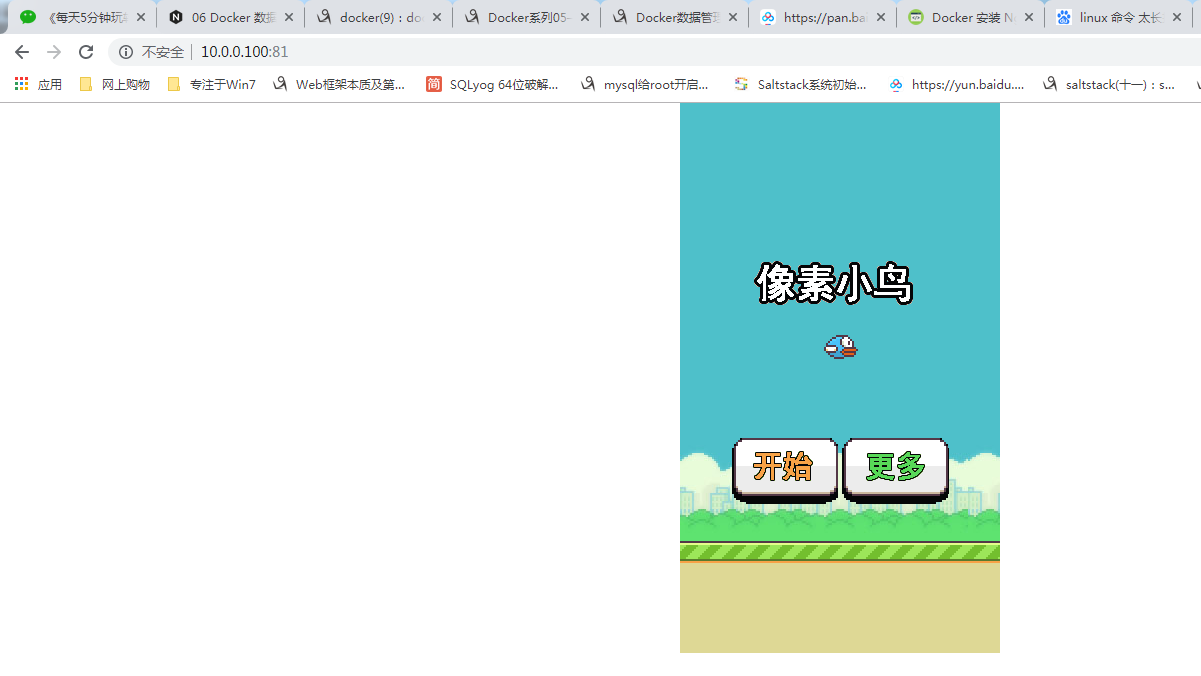
  • 80是主页,81端口是游戏,在host上写一个81的配置文件挂载上去
1
2
3
4
5
6
7
8
9
10
11
12
13
[root@linux-node1 conf]# pwd
/data/nginx/conf

[root@linux-node1 conf]# cat 81.game.conf
server{
root /opt;
listen 81;
}

[root@linux-node1 conf]# ls -l
total 8
-rw-r--r--. 1 root root 40 Oct 11 11:39 81.game.conf
-rw-r--r--. 1 root root 643 Sep 24 22:49 nginx.conf

1
2
3
4
5
6
7
8
9
# 启动容器并挂载配置
# 挂载81的配置文件到 /etc/nginx/conf.d/下让主配置文件iinclude

docker run -d -p 80:80 -p 81:81 --name web3
-v /data/nginx/conf/81.game.conf:/etc/nginx/conf.d/81.game.conf
-v /data/nginx/www/:/opt
-v /data/nginx/log/:/var/log/nginx nginx:1.16.1

[root@linux-node1 conf]# docker run -d -p 80:80 -p 81:81 --name web3 -v /data/nginx/conf/81.game.conf:/etc/nginx/conf.d/81.game.conf -v /data/nginx/www/:/opt -v /data/nginx/log/:/var/log/nginx nginx:1.16.1

1
2
3
4
5
# 日志查看
[root@linux-node1 log]# tailf access.log

10.0.0.1 - - [11/Oct/2019:04:00:40 +0000] "GET / HTTP/1.1" 304 0 "-" "Mozilla/5.0 (Windows NT 6.1; Win64; x64) AppleWebKit/537.36 (KHTML, like Gecko) Chrome/74.0.3729.169 Safari/537.36" "-"
10.0.0.1 - - [11/Oct/2019:04:00:41 +0000] "GET /img/p2l.jpg HTTP/1.1" 404 555 "http://10.0.0.100:81/" "Mozilla/5.0 (Windows NT 6.1; Win64; x64) AppleWebKit/537.36 (KHTML, like Gecko) Chrome/74.0.3729.169 Safari/537.36" "-"

数据卷容器

  1. 如果数据在需要在多个容器之间共享,最简单的方式是使用数据卷容器。
  2. 数据卷容器也是一个容器,但是它的目的是专门用来提供数据卷供其他容器挂载。
  3. 不管数据卷容器是否运行 都可以访问到
  4. –volumes-from

volumes-from

  1. 启动一个容器挂载一个目录,其他的容器都不用挂载了,直接–volumes-from 这个容器
1
2
3
4
5
6
7
8
9
10
11
12
13
14
15
16
[root@linux-node1 ~]# docker run -it --name volume_test -v /data/tools/:/data/tools centos:7
# 新建的容器 --volumes-from volume_test
# 即使数据卷容器没有运行,数据也可以被访问

[root@linux-node1 ~]# docker run -it --name game_test --volumes-from volume_test centos:7 /bin/bash
[root@9b7b28b2f5a5 /]# cd /data/tools/
[root@9b7b28b2f5a5 tools]# ls
web1.tar

[root@9b7b28b2f5a5 tools]# touch game_test.log
[root@linux-node1 tools]# ls
game_test.log web1.tar

# 有些数据在多个容器之间共享,就可以使用数据卷容器
# 单个容器挂载 然后其他的都用容器卷
# 只要有容器卷使用这个目录就无法删除

总结

  1. 现在我们有数据层(镜像层和容器层)和 volume 都可以用来存放数据,具体使用的时候要怎样选择呢?

  2. 考虑下面几个场景:

1
2
3
4
5
6
7
- Database 软件 vs Database 数据

- Web 应用 vs 应用产生的日志

- 数据分析软件 vs input/output 数据

- Apache Server vs 静态 HTML 文件
  1. 相信大家会做出这样的选择:
1
2
3
前者放在数据层中。因为这部分内容是无状态的,应该作为镜像的一部分。

后者放在 Data Volume 中。这是需要持久化的数据,并且应该与镜像分开存放。
  1. 如何使用
1
2
3
4
5
-v /data/nginx/www:/usr/share/nginx/html
这与 linux mount 命令的行为是一致的
-v 的格式为 <host path>:<container path>。
/usr/share/nginx/html 就是 nginx 存放静态文件的地方。
原有数据会被隐藏起来,取而代之的是 /data/nginx/www 中的数据
1
2
3
4
即使容器销毁,数据也还在,mount的是 host 文件系统中的数据,只是借给容器用用,哪能随便就删了啊
mount 时还可以指定数据的读写权限,默认是可读可写,可指定为只读
除了mount 目录,还可以单独指定一个文件
使用mount 单个文件的场景是:只需要向容器添加文件,不希望覆盖整个目录。
1
2
3
4
使用场景:
1. 可以将源代码目录 mount 到容器中,在 host 中修改代码就能看到应用的实时效果
2. mysql 容器的数据放在 共享目录 里,这样 host 可以方便地备份和迁移数据
3. 实现了容器与 host 的解耦