07 Docker 手动构建镜像


1
2
3
参考:
https://www.cnblogs.com/wangxu01/articles/11325388.html
https://www.cnblogs.com/luoahong/p/10273477.html

为什么要构建镜像

  1. 找不到现成的镜像,比如自己开发的应用程序,生产做自己的镜像
  2. 需要在镜像中加入特定的功能,比如官方镜像几乎都不提供 ssh。

两种构建镜像的方法:

  1. 手动构建镜像 docker commit 命令
  2. Dockerfile 构建镜像文件

手动构建镜像步骤

  1. 启动基础容器安,装软件服务。
  2. 将安装好服务的容器commit提交为镜像。
  3. 启动新容器来测试新提交的镜像。

制作支持ssh远程登录的docker镜像

启动基础容器,安装软件服务

目的 : 以官方镜像为基础在这个基础之上 “做自己的镜像”

1
2
3
4
5
6
7
8
# --privileged=true,该参数在docker容器运行时,让系统拥有真正的root权限
# /usr/sbin/init:初始容器里的CENTOS,用于启动dbus-daemon。

[root@linux-node1 ~]# docker run --privileged=true -d -p 1022:22 --name mycentos centos:7 /usr/sbin/init

[root@linux-node1 ~]# docker ps
CONTAINER ID IMAGE COMMAND CREATED STATUS PORTS NAMES
017da954e8d4 centos:7 "/usr/sbin/init" 11 seconds ago Up 10 seconds 0.0.0.0:1022->22/tcp mycentos

安装软件 openssh-server

1
2
3
4
5
6
7
8
9
10
11
12
13
14
15
16
17
18
19
[root@linux-node1 ~]# ./docker_in.sh mycentos
[root@017da954e8d4 /]# yum install openssh-server -y
[root@017da954e8d4 /]# systemctl start sshd
[root@017da954e8d4 /]# systemctl status sshd

● sshd.service - OpenSSH server daemon
Loaded: loaded (/usr/lib/systemd/system/sshd.service; enabled; vendor preset: enabled)
Active: active (running) since Fri 2019-10-11 08:37:27 UTC; 6s ago
Docs: man:sshd(8)
man:sshd_config(5)
Main PID: 200 (sshd)
CGroup: /docker/017da954e8d47f86c0db7116fd90b0a7ee5da7e1150ea1a89442d1c59cb6d7ec/system.slice/sshd.service
└─200 /usr/sbin/sshd -D
‣ 200 /usr/sbin/sshd -D

Oct 11 08:37:27 017da954e8d4 systemd[1]: Starting OpenSSH server daemon...
Oct 11 08:37:27 017da954e8d4 sshd[200]: Server listening on 0.0.0.0 port 22.
Oct 11 08:37:27 017da954e8d4 sshd[200]: Server listening on :: port 22.
Oct 11 08:37:27 017da954e8d4 systemd[1]: Started OpenSSH server daemon.
1
2
3
4
5
6
7
[root@017da954e8d4 /]# yum install net-tools -y

[root@017da954e8d4 /]# netstat -tnlp
Active Internet connections (only servers)
Proto Recv-Q Send-Q Local Address Foreign Address State PID/Program name
tcp 0 0 0.0.0.0:22 0.0.0.0:* LISTEN 200/sshd
tcp6 0 0 :::22 :::* LISTEN 200/sshd

设置远程登录密码

1
2
3
[root@017da954e8d4 /]# echo 123456|passwd --stdin root
Changing password for user root.
passwd: all authentication tokens updated successfully.

测试远程访问

1
2
3
4
# 在创建容器的时候 我们绑定了本地的 1022端口哦~
[root@linux-node1 tools]# ssh 10.0.0.100 -p1022
root@10.0.0.100's password:
Last login: Fri Oct 11 08:43:05 2019 from 10.0.0.100

commit 提交为镜像

1
2
3
4
5
6
7
8
9
10
# 提交本地镜像
# commit -m "centos7-ssh" # 添加注释
# mycentos # 容器名
# test/mycentos-7-ssh # 仓库名称/镜像:版本 不加版本号就是latest 最后的版本
[root@linux-node1 tools]# docker commit -m "centos7-ssh" mycentos test/mycentos-7-ssh

[root@linux-node1 tools]# docker images
REPOSITORY TAG IMAGE ID CREATED SIZE
test/mycentos-7-ssh latest db3993e49556 About a minute ago 278MB
...

使用新镜像 启动新容器

  • 注意事项:
  1. 记得一定要在启动容器的后面加上 /usr/sbin/sshd -D
  2. 不加默认是 /bin/bash
1
[root@linux-node1 tools]# docker run -d --name mycentos7 -p 2022:22 test/mycentos-7-ssh /usr/sbin/sshd -D

连接测试 2022

1
2
3
4
[root@linux-node1 ~]# ssh 10.0.0.100 -p 2022
root@10.0.0.100's password:
Last login: Fri Oct 11 09:01:24 2019 from 10.0.0.100
[root@33b52a8d8adb ~]#

基于centos7的ssh+Nginx镜像

启动基础容器

1
[root@linux-node1 ~]# docker run --privileged=true -d -p 80:80 --name centos-7-ssh-nginx  centos:7 /usr/sbin/init

配置yum源安装 Nginx和sshd

1
2
3
4
5
6
7
8
9
10
11
12
13
14
[root@linux-node1 ~]# docker ps
CONTAINER ID IMAGE COMMAND CREATED STATUS PORTS NAMES
3d804a17f13b centos:7 "/usr/sbin/init" 34 seconds ago Up 33 seconds 0.0.0.0:80->80/tcp centos-7-ssh-nginx

[root@linux-node1 ~]# ./docker_in.sh 3d804a17f13b
[root@3d804a17f13b /]# cd /etc/yum.repos.d/
[root@3d804a17f13b yum.repos.d]# mkdir bak ; mv *.repo bak/

[root@3d804a17f13b yum.repos.d]# curl -o /etc/yum.repos.d/CentOS-Base.repo http://mirrors.aliyun.com/repo/Centos-7.repo

[root@3d804a17f13b yum.repos.d]# rpm -ivh https://mirrors.aliyun.com/epel/epel-release-latest-7.noarch.rpm

[root@3d804a17f13b yum.repos.d]# ls
bak CentOS-Base.repo epel.repo epel-testing.repo
1
2
3
4
yum install net-tools -y 
yum install nginx -y
yum install openssh-server -y
echo 123456|passwd --stdin root

启动服务

1
2
3
4
5
6
7
8
9
[root@3d804a17f13b yum.repos.d]# systemctl start nginx
[root@3d804a17f13b yum.repos.d]# systemctl start sshd
[root@3d804a17f13b yum.repos.d]# netstat -lntp
Active Internet connections (only servers)
Proto Recv-Q Send-Q Local Address Foreign Address State PID/Program name
tcp 0 0 0.0.0.0:80 0.0.0.0:* LISTEN 292/nginx: master p
tcp 0 0 0.0.0.0:22 0.0.0.0:* LISTEN 319/sshd
tcp6 0 0 :::80 :::* LISTEN 292/nginx: master p
tcp6 0 0 :::22 :::* LISTEN 319/sshd
1
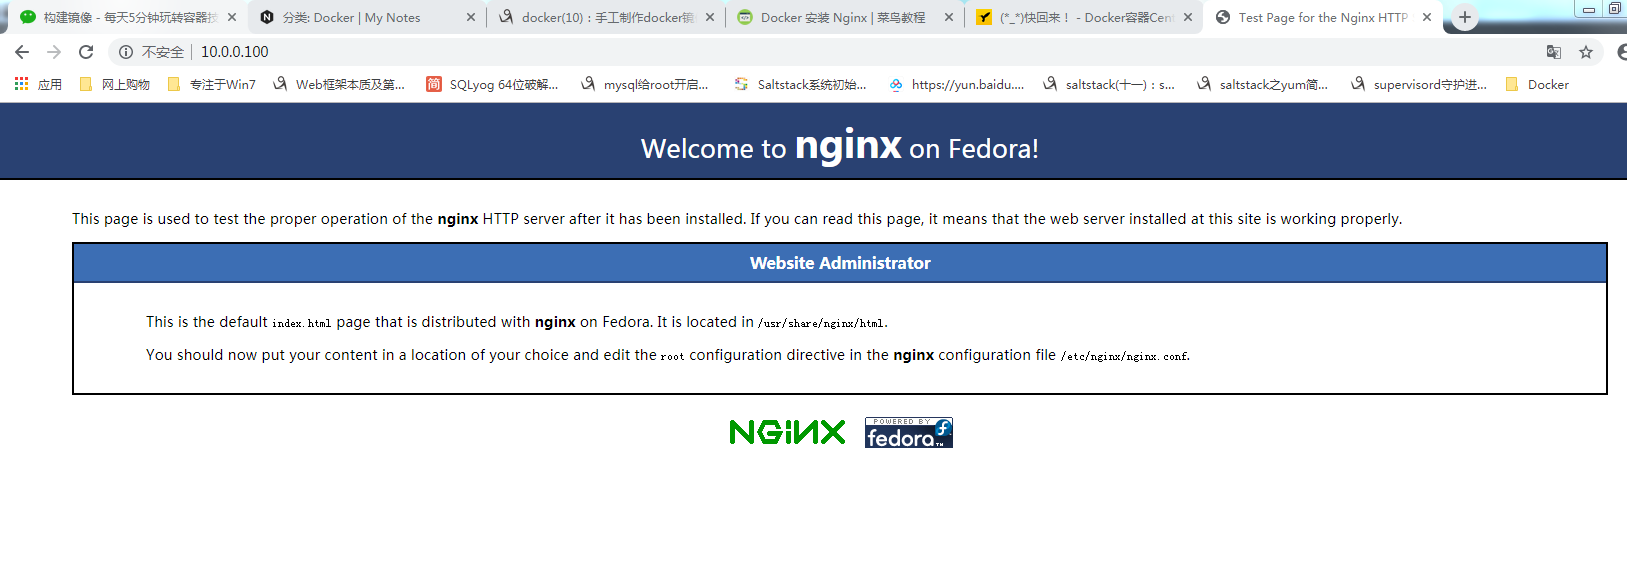
测试web访问 http://10.0.0.100/

编写容器启动脚本

1
2
3
4
5
6
7
8
9
10
[root@361b22a52b62 /]# vi init.sh

#!/bin/bash
source /etc/profile

systemctl start nginx
systemctl status nginx >> /tmp/nginx.log
systemctl start sshd

[root@361b22a52b62 /]# chmod 755 /init.sh

commit提交为镜像

1
2
3
4
5
6
[root@linux-node1 ~]# docker commit -m "My CentOS7-ssh-nginx" centos-7-ssh-nginx test/mycentos-7-ssh-nginx:v1

[root@linux-node1 ~]# docker images
REPOSITORY TAG IMAGE ID CREATED SIZE
test/mycentos-7-ssh-nginx v1 60ed5f7aebf2 3 seconds ago 377MB
...

启动新容器

1
[root@linux-node1 ~]# docker run --privileged=true -d -p 8080:80 -p 2222:22 --name we1 test/mycentos-7-ssh-nginx:v1  /usr/sbin/init init.sh
1
2
3
# 如果服务无法启动 还是需要之前的超管权限步骤
[root@05068b99ded6 tmp]# systemctl start nginx
Failed to get D-Bus connection: Operation not permitted